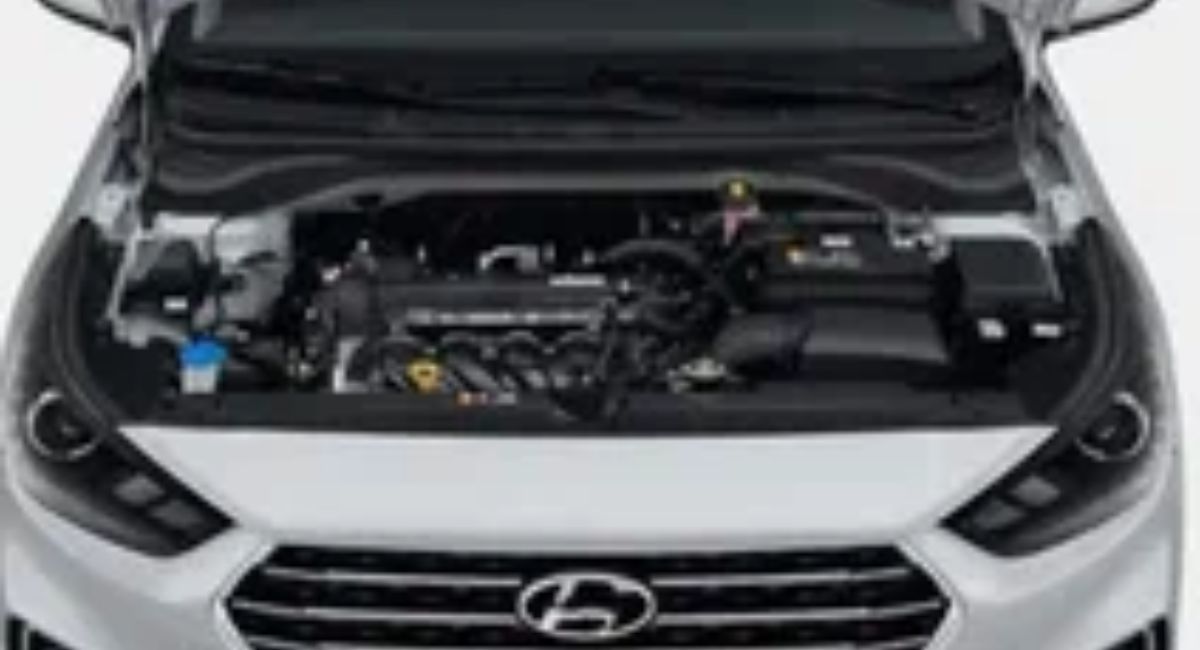
Introduction
If you own a Volvo XR70, you may at some point need to work on the roof. Maybe you want to fix a leak, repair the sunroof, or replace damaged lining. The process of desmontar techo Volvo XR70 may sound complicated, but with the right tools, patience, and clear steps, you can do it yourself. This guide will walk you through everything you need to know, from preparation to reinstallation.
What Is “Desmontar Techo Volvo XR70” and Why Is It Needed?
Removing the roof or roof lining of a Volvo XR70 is not a routine job. However, certain issues may make it necessary. Understanding the reasons helps you decide if the job is worth doing yourself or better left to a professional.
Common Reasons
Fixing water leaks near the sunroof or roof joints.
Repairing or replacing the sunroof mechanism.
Accessing wiring for lights, antennas, or sensors.
Changing the roof lining due to wear and tear.
Performing major repairs after an accident.
Tools Checklist Before Starting
Having the right equipment makes the process smooth. Gather everything in advance so you don’t waste time.
You will need:
Phillips and flathead screwdrivers
Torx and socket set
Plastic trim removal tools
Ratchet wrench
Safety gloves and goggles
Electrical tape
Lubricant or rust remover
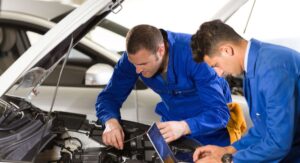
Step by Step Safety Precautions
Working on a car roof involves heavy parts and electrical wiring. Keep these safety points in mind:
Park the car in a flat, well lit space.
Disconnect the car battery to avoid electrical hazards.
Wear gloves and goggles.
Never try to lift the roof panel alone. Always ask someone to assist.
Keep small screws and clips in labeled containers.
Step 1: Removing Interior Trim Panels
Start with the trim panels that surround the roof.
Locate screws or clips holding them in place.
Use a plastic trim tool to gently remove the panels.
Store them safely to prevent damage.
Step 2: Detaching the Roof Lining
The lining covers the inside of the roof. Removing it is necessary to reach the main structure.
Loosen fasteners with a Torx wrench.
Pull the lining gently to avoid tears.
If your XR70 has a sunroof, disconnect the attached wiring first.
Step 3: Handling Electrical Components
Modern Volvo XR70 models have electrical parts on the roof, such as sunroof switches, lighting, or sensors.
Identify all wiring connections.
Disconnect them carefully.
Wrap loose ends with electrical tape to prevent short circuits.
Step 4: Removing the Roof Rails
If your vehicle has roof rails, take them off before dismantling the roof panel.
Use a socket wrench to loosen the bolts.
Gently remove the rails and set them aside.
Step 5: Unbolting the Roof Panel
Now you can reach the main roof panel.
Locate bolts that secure the roof to the body.
Use a ratchet wrench to loosen them one by one.
Keep the bolts in order to make reinstallation easier.
Step 6: Lifting Off the Roof
This is the heaviest part of the process.
Double check that all bolts and wires are disconnected.
With a partner, lift the roof panel slowly.
Place it on a soft surface to avoid scratches.
Troubleshooting Problems During Roof Removal

Sometimes things don’t go smoothly. Here are common issues and solutions:
Rusty bolts Apply rust remover or lubricant. Wait a few minutes before trying again.
Stuck trim panels Use plastic trim tools, not metal, to prevent breaking them.
Electrical confusion Label each wire with tape for easy reinstallation.
Cost and Time Estimate for Desmontar Techo Volvo XR70
Time: Usually 2 4 hours for a beginner. Faster if you have experience.
Cost: Minimal if you already own tools. Professional service may cost hundreds of dollars depending on labor and parts.
DIY vs Professional Help Which Is Better?
Doing it yourself saves money and gives you confidence. But professional help might be better in these cases:
If you find hidden electrical problems.
If the roof has structural damage.
If you are not comfortable lifting heavy parts.
Final Tips for Successful Reinstallation
Once repairs are complete, reinstall the roof by reversing the process:
Bolt the roof panel back carefully.
Reconnect all electrical wires.
Install the roof lining and trim panels.
Reattach roof rails if applicable.
Reconnect the battery and test lights, sensors, and sunroof.
Common Mistakes to Avoid
Forgetting to disconnect the battery before handling wires.
Losing small clips or screws.
Trying to lift the roof panel without help.
Rushing the reinstallation process.
Safety Considerations You Should Not Ignore
Never drive the car without the roof securely reinstalled.
Always check electrical connections before finishing.
Test the sunroof or lights before closing up everything.
FAQs About Desmontar Techo Volvo XR70
How long does it take to remove the roof?
Usually 2 3 hours for beginners.
Can I fix a leaky roof myself?
Yes. Often, leaks can be fixed by resealing the roof or sunroof areas.
Do I need special tools?
Basic tools like screwdrivers and wrenches are enough, but a Torx set may be required.
Is it dangerous to work on electrical components?
Not if you disconnect the battery first and handle wires carefully.
Should I drive with the roof removed?
No, it’s unsafe and not recommended. Always reinstall before driving.
Conclusion
Learning how to desmontar techo Volvo XR70 is not as difficult as it first seems. With the right tools, patience, and safety steps, you can successfully remove and reinstall the roof. Whether you are repairing a leak, fixing the sunroof, or replacing the lining, following this guide will make the process smooth and safe. If you face complex problems, don’t hesitate to seek professional help.